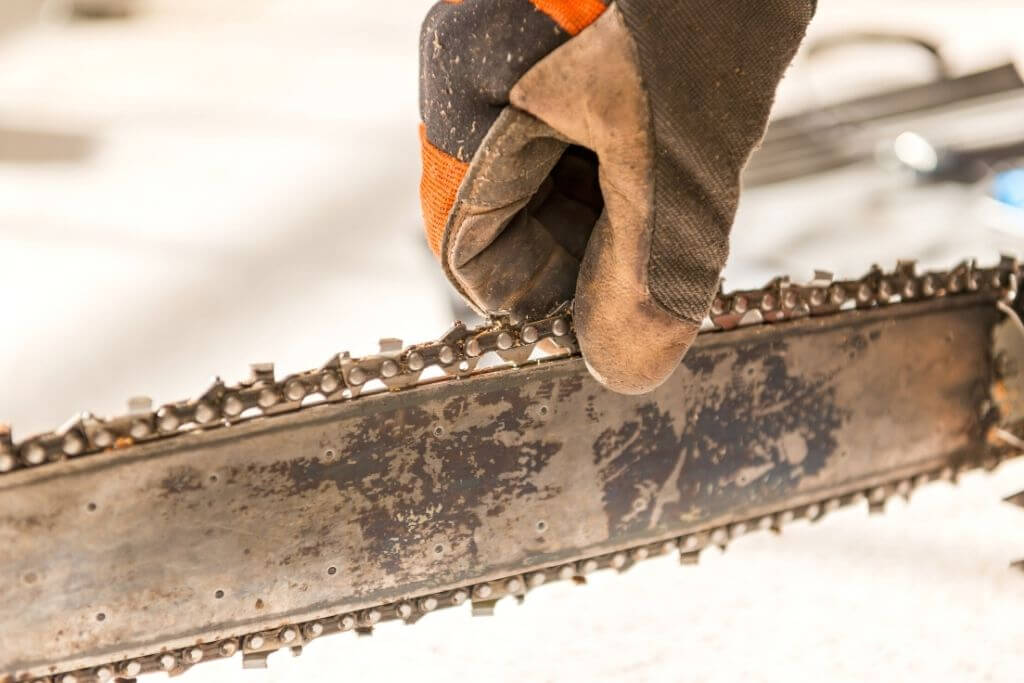
We all know chainsaws are one of the most versatile tools and powerful for cutting wood.
However, it is easy to get frustrated when your chain gets stuck or you can’t cut through that stubborn tree branch.
Luckily, there’s a simple way to fix any problems with your blade. A broken chain is an annoyance, but it’s nothing that can’t be fixed in just a few minutes with these instructions.
This guide will show you how to adjust the chain on your chainsaw so you’re back up and running in no time!
Table of Contents
- How To Determine When It’s Time To Adjust Chainsaw Chain
- Steps To Adjust Your Chainsaw Chain
- 1. Clean the bar and chain with a rag
- 2. Loosen the nuts on the chainsaw
- 3. Fine-tune the tension screw
- 4. Remove the guide bar and chain from the saw
- 5. Check the tension of the new chain with a gauge
- 6. Adjust tension using tools or wrench
- 7. Reinstall guide bar and tighten nuts on either end
- 8. Test out your new chainsaw chain
- Is your chain not adjusting?
- Final Thoughts
How To Determine When It’s Time To Adjust Chainsaw Chain
The best time to adjust your chain is when the chain’s drive links become detached from the guide bar when pulled.
If you also notice the chain hanging baggily from the bar by looking at it, it is certainly too loose.
You need to adjust the chain even when it is too tight. A tight chain cannot easily detach from the bar even when moved.
You can also decide when it is time to adjust your chainsaw chain by assessing its functionality.
If the chain on the chainsaw is too tight or too loose it ceases to cut through wood effectively. If your chainsaw is giving you a hard time cutting through wood, so you need to adjust your chainsaw chain.
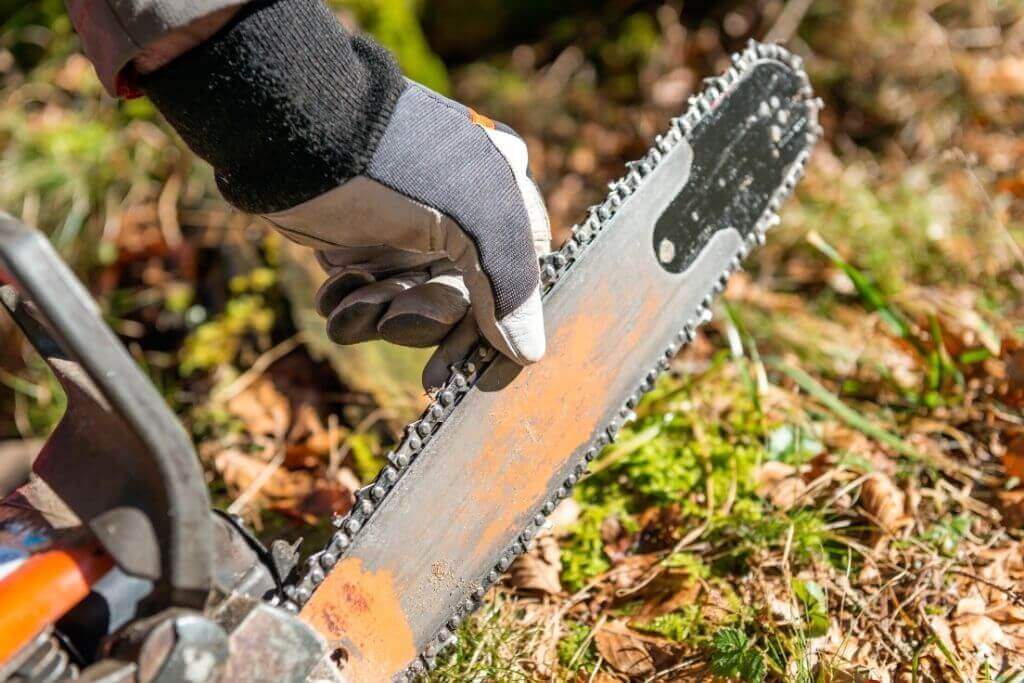
Steps To Adjust Your Chainsaw Chain
While some advanced types of chainsaws allow you to adjust the chain automatically, others require manual adjusting.
So, you should buy a quality chainsaw and suitable for your budget.
Anyway, the simple steps will show you how to adjust chainsaw chains for manually adjusted chainsaws.
1. Clean the bar and chain with a rag
To make sure nothing gets in the way of your work, you should wipe down the bar and chain on your saw. Any dirt or debris can be removed with a rag or brush.
2. Loosen the nuts on the chainsaw
The nuts on your chainsaw help secure the chain in position. The first thing that you need to do is loosen these nuts on the guide bar panel of your chainsaw.
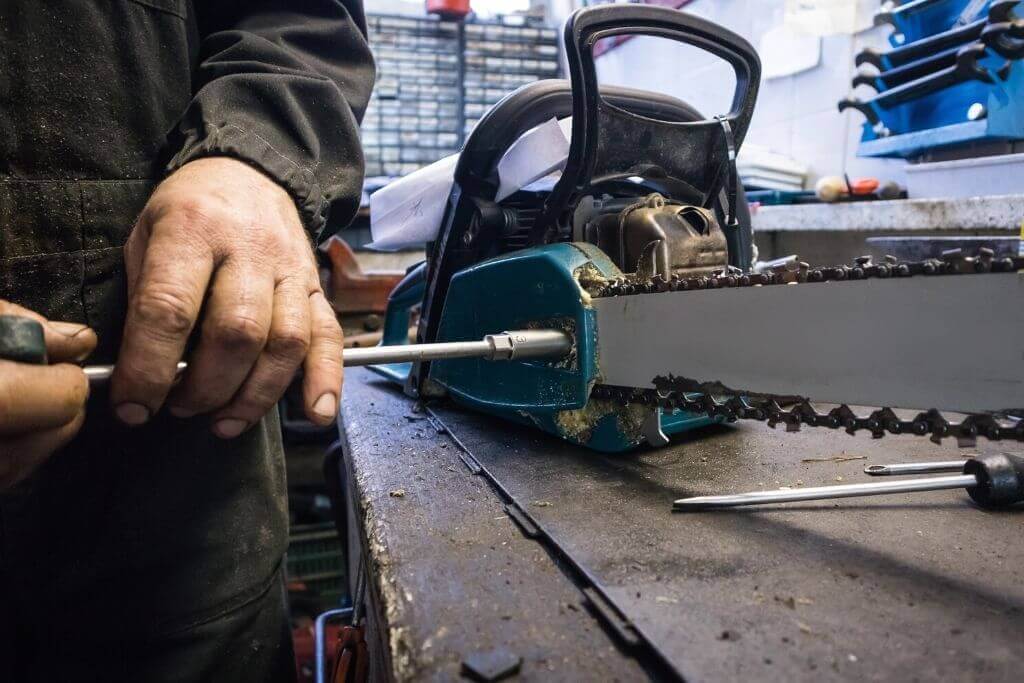
To loosen the nuts, you will need to use a screwdriver or wrench. While you can purchase one from a nearby hardware store, most chainsaws come with the right-sized scwrench.
This screwdriver is commonly known as a scwrench and is particularly for your chainsaw type. It is custom-made to fit the exact size of the nuts on the side plate of your chainsaw.
Loosening the nuts helps create room to adjust the chain without difficulty. It will not only help allow the bar to move forward, but it will also permit the bar to move upwards and downwards. This will enable you to adjust the tension screw.
3. Fine-tune the tension screw
Now that you have loosened the nuts on the chainsaw, you will have to adjust the tension screws as well. The tension on these tension adjustment screws determines the chain’s rigidity.
So, if your tension screws are loose, then the chain will also be loose. Tightening them will also tighten the chain.
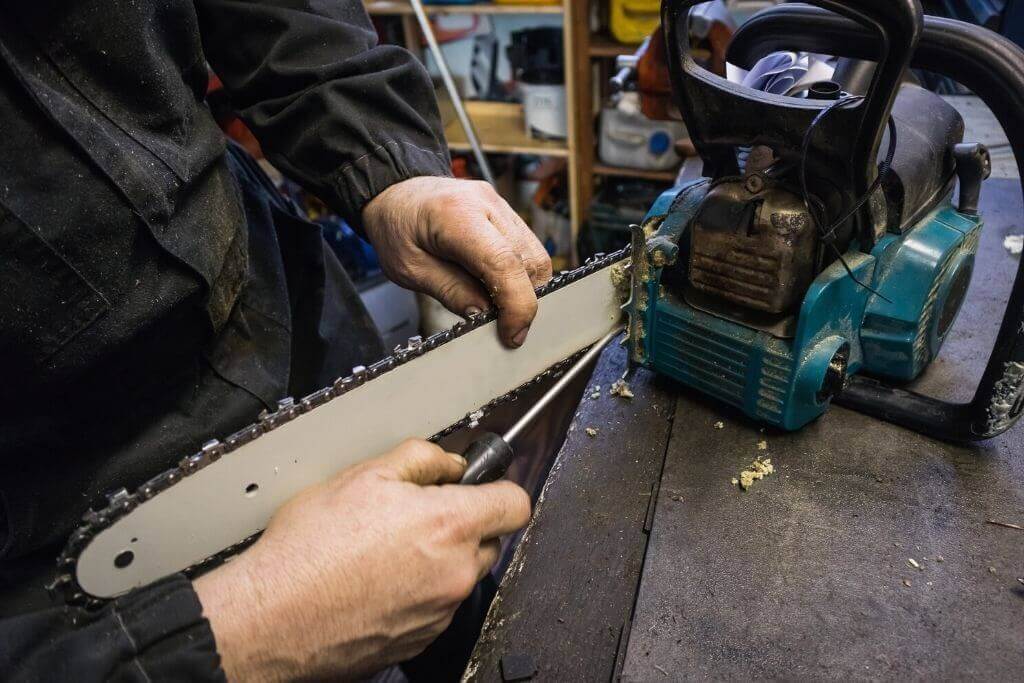
The tension screws are located in different positions depending on the type of chainsaw you are using. Some tension adjustment screws are located on the saw between the bar and dog.
Others are found between the bar cover nuts on the outside of the bar. Either one of these types is adjusted the same way. Make sure that you tighten these screws well enough.
4. Remove the guide bar and chain from the saw
Once you’ve removed the nuts, simply slide off the guide bar and set it aside for now. Be sure not to lose any of the bearings or spacers that are on your bar.
Now you can remove the old chain. How you do this will depend on your model, so refer to your owner’s manual if you aren’t sure how to proceed.
5. Check the tension of the new chain with a gauge
Replacing the chainsaw chain is pretty straightforward, but watch out for some common mistakes.
Make sure that both keepers on your new chain are properly attached, and that the teeth are facing down.
You’ll also want to check that the space between each tooth is even- one side shouldn’t be too far off from the other.
6. Adjust tension using tools or wrench
Your chainsaw should come with a specific tool for adjusting chain tension . How you use this tool will depend on your model- consult the owner’s manual for more information.
If you don’t have a tensioning tool, you can also adjust the chain by hand using a wrench or ratchet.
7. Reinstall guide bar and tighten nuts on either end
Once you’ve adjusted the new chainsaw chain properly, reattach it onto the chainsaw, and tighten the nuts on either end of the guide bar.
You’ll need to be careful when doing this- if you tighten one nut too much without tightening the other one enough, your chain will definitely get stuck again!
8. Test out your new chainsaw chain
Before you start cutting into anything important, make sure that your chain isn’t too loose again. If one side is tighter than the other, you’ll need to adjust it once more.
Once you’ve double checked everything, it’s time to put your chain to the test! After completing these steps, your chainsaw chain should be well adjusted and ready to use.
See also how to adjust electric chainsaw chain
Is your chain not adjusting?
If the chain is still not adjusting even after following these steps, make sure you do not use it.
Until you have resolved this issue, it is neither safe nor efficient to use your chainsaw chain unadjusted. Here are a few things to try to get adjusted.
Tighten the tension screws
The reason why your chain is not adjusted tight or loose enough is the tension screws. Try tightening the screws more or less to adjust the chain successfully.
Replace or repair worn out parts
Exposed threads in the chainsaw case that holds the tension screws can also make it hard to adjust the chain.
Therefore, if you are having problems adjusting your chain, you might need to check whether the threads are still intact.
Check guide bar size
If you have recently replaced your guide bar and are now experiencing chain problems, then you have the wrong bar size.
An undersized or oversized guide bar will make the chain either too tight or baggy. So, you may need to check whether the bar is the correct size.
Dangers of a tight or loose chain
As much as slack and unfastened chains can be very dangerous, too tight is no good either.
While a loose one can come off and injure the handler, a tight one can also break and hurt the user.
Pulling your chainsaw too tight will put too much pressure on the sprocket and wear it down. This will cause permanent, irreversible damage to your chainsaw.
So, you will want to adjust your chainsaw before to damages the entire chainsaw.
Final Thoughts
A well-adjusted chainsaw performs without a glitch making the task of cutting wood much easier.
Not only will adjusting the chain make your job effortless, but it will also help prevent injury and ensure your safety when operated.
Now that you know how to adjust a chainsaw chain, you can always do it yourself.


![9 Best Pole Saws of 2023 [Ultimate Guide] 9 Best Pole Saws of 2023 [Ultimate Guide]](https://handykeen.b-cdn.net/wp-content/uploads/2021/03/best-pole-saw-300x200.jpg)

