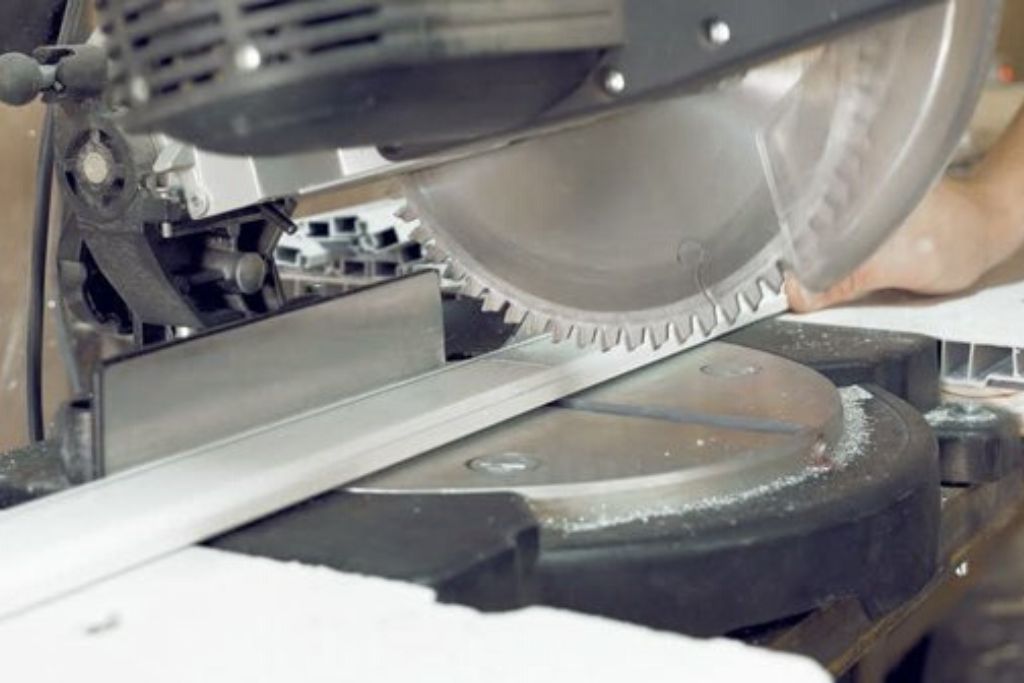
Aluminum is a lightweight, durable metal that is often used for a variety of projects. It is also relatively easy to cut, making it a popular choice for DIY enthusiasts and contractors.
However, when it comes to aluminum, many wonders if a miter saw is up to the task. But can you use a miter saw to cut aluminum?
Yes! But there are some important considerations you need to consider before attempting this task.
This article will discuss what you need to know about using a miter saw to cut aluminum and how to do it safely and effectively.
Table of Contents
What You Need To Know About Cutting Using A Miter Saw
When using a miter saw, it’s important to use the right blade. A standard woodcutting blade won’t be able to cut through aluminum effectively
So you’ll need to use a special blade designed specifically for cutting metal. Additionally, the blade should have at least 24 teeth to get a clean cut.
It’s also important to use plenty of lubrication on a miter saw. This will help reduce friction and heat buildup, which can cause the blade to become dull more quickly. You can use WD-40 or a similar product as a lubricant.
Finally, it would be best to always put on safety goggles and gloves when operating a miter saw, especially when cutting aluminum.
Aluminum dust can be hazardous if it gets into your eyes or skin, so it’s important to take proper precautions before beginning any project involving this material.
Type Of Miter Saw To Use To Cut Aluminum
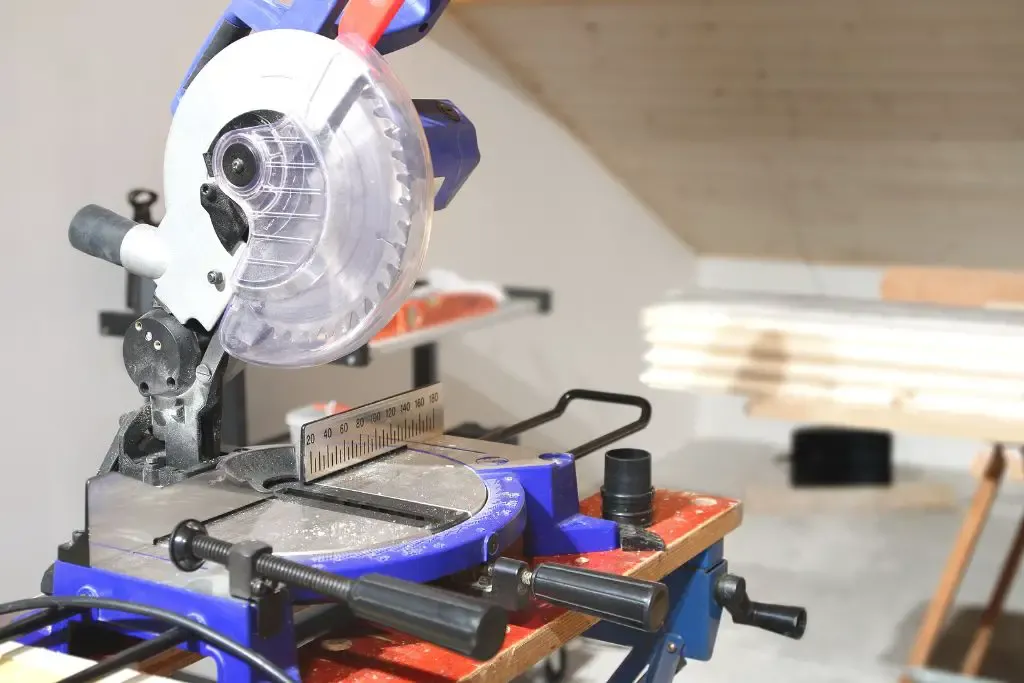
The type of miter saw you should use to cut aluminum depends on the material’s thickness and the project’s complexity. A standard miter saw will be sufficient if you only cut thin aluminum pieces.
However, if you are planning on making more intricate cuts or dealing with thicker materials, a sliding compound miter saw may be necessary.
Sliding compound miter saws can make wider and different angles cuts than standard miter saws, so they are better suited for more complex projects involving aluminum.
Which Blades Can You Use To Cut Aluminum?
Circular Blades
Circular blades are designed for cutting aluminum and come in various sizes, and tooth counts.
The most common types are 12″ and 14″ blades with 24 teeth. These blades are best suited for making tilting angles cuts on thin aluminum pieces.
Carbide-Tipped Blades
They are more durable than standard circular blades, so they can handle thicker materials without becoming dull quickly. Carbide-tipped blades can also make intricate cuts that would be difficult to achieve with a regular circular blade.
Sharp Cut Blades
Sharp-cut blades are made from a special material designed to cut aluminum quickly and efficiently. They come in various sizes and can easily make even the most intricate cuts.
Coarse And Very Coarse Cut Blades
Coarse and very coarse cut blades are designed to cut thicker aluminum pieces. They have fewer teeth, so they can handle thicker materials without becoming dull quickly.
Cutting Angles For Aluminum Using A Miter Saw
Keeping the blade perpendicular to the material when using a miter saw is important.
This will ensure that you get a clean and accurate cut. Additionally, it is always best to use a slow and steady speed when cutting.
Trying to rush through the cutting process can cause the blade to be dull more quickly or lead to an uneven cut.
How To Cut Aluminum With A Miter Saw
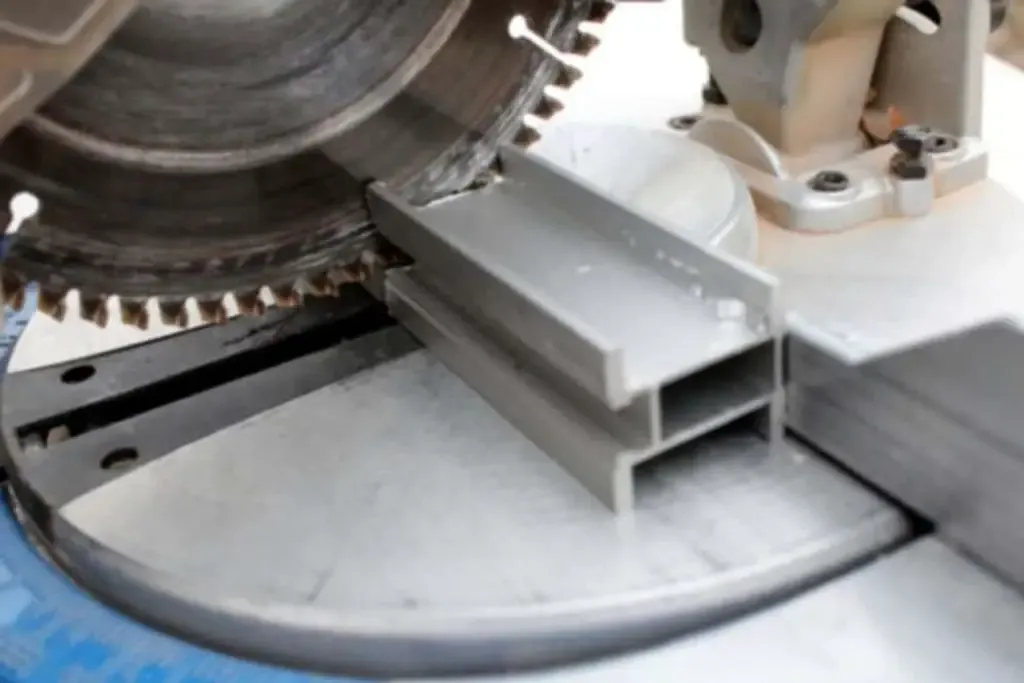
1. Choose The Right Blade
When cutting aluminum, the first thing is to choose the right blade for your project. Make sure that the blade you select is designed specifically for cutting aluminum and has enough teeth to handle the thickness of the material.
2. Put On Safety Gear
Before beginning any project involving a miter saw, it is important to put on safety gear such as goggles and gloves. This will help protect you from aluminum dust and debris.
3. Mount The Blades
Once you have chosen the right blade, it is time to mount it onto the miter saw. Ensure that the blade is secure and that the teeth are pointed in the direction of the cut.
4. Clamp The Aluminum
Before making any cuts, make sure to clamp the aluminum in place. This will help ensure that the material does not move while cutting it.
5. Set The Miter Saw Angle
The other step is to set the angle of the miter saw for your project. Most miter saws will allow you to adjust the angle from 0° to 45°.
6. Make The Cut
Once the aluminum is clamped, you can begin making your cut. Start by slowly bringing the blade down and then gradually increasing the speed until you reach the desired depth of cut.
It is important always to use a slow and steady speed. Trying to rush through the cutting process can cause the blade to be dull more quickly or lead to an uneven cut.
Also, when cutting thin aluminum, it is a good idea to use a wood backer behind the material. This will prevent the aluminum from vibrating or slipping while you are making your cut.
7. Lubricate
It is also important to lubricate the blade with oil or wax before making any cuts. This will help reduce friction and make cutting easier.
8. Clean Up
After making your cut, clean up any debris or dust that may have accumulated on the saw or work surface.
Wrapping Ups
In conclusion, cutting aluminum with a miter saw is possible, but following the necessary steps and safety precautions is important.
Be sure to choose the correct blade for your project, and ensure that the blade is securely mounted onto the saw.
Additionally, always wear safety gear such as goggles and gloves when cutting metal.
Finally, you should use slow and steady speed when making your cuts. Doing so will help ensure an even cut and a successful project.




![9 Best Pole Saws of 2023 [Ultimate Guide] 9 Best Pole Saws of 2023 [Ultimate Guide]](https://handykeen.b-cdn.net/wp-content/uploads/2021/03/best-pole-saw-300x200.jpg)
